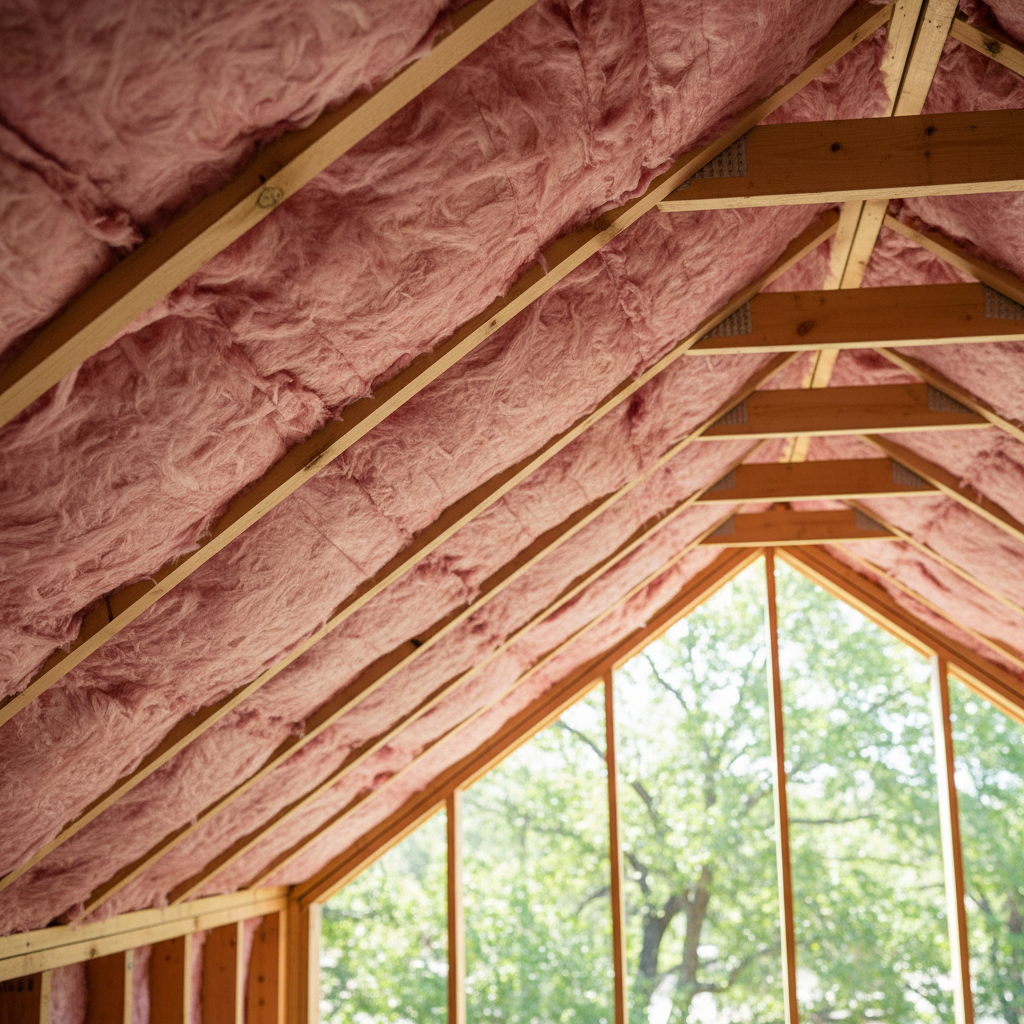
Thinking About Batt Insulation DIY? Let's Talk.
So, you've been staring at those energy bills, right? And you're probably thinking about how to make your home feel a bit more comfortable. Batt insulation often pops up as one of the first things folks consider for a DIY project, and honestly, there's a good reason why. It's easy to find, and at first glance, it looks pretty simple to put in. But just like anything else in construction, there's a right way to do it and, well, a not-so-right way. As a local contractor, I've definitely seen plenty of both. Let's go over what you should know if you're planning to install batt insulation in your New Braunfels home.
Before You Even Buy a Single Batt
First things first: you need to figure out if batt insulation is even the best choice for your particular job. Batts are those pre-cut rolls or sheets, usually made of fiberglass or mineral wool, that fit snugly between studs, joists, or rafters. They work great for unfinished walls, attics you can easily get into, or floor joists. But if you're trying to insulate a wall that's already finished, or some really tight, oddly shaped spot, batts probably aren't your best bet. You'll just end up with gaps, and gaps mean air leaks – which totally defeats the whole purpose, doesn't it?
Here's what you really need to think about before you even head out to the hardware store:
- Measure Twice, Buy Right: Get super accurate measurements of the areas you're insulating. You'll need to know how wide the spaces are between your studs or joists (usually 16 or 24 inches on center) and how deep they are. This information helps you figure out the R-value you can achieve and what size batts you should buy.
- R-Value Matters: The R-value tells you how well the insulation resists heat flow. A higher R-value means better insulation. For attics here in New Braunfels, especially with our scorching summers, you'll generally want something in the R-38 to R-60 range, depending on what's already up there. Walls typically use R-13 or R-15 for 2x4 framing, and R-19 or R-21 for 2x6.
- Safety First, Always: You'll be working with fiberglass, which can be pretty irritating. So, grab a good quality respirator (N95 or better, please!), safety glasses, gloves, and long-sleeved clothing. Believe me, you do not want that itch.
- Tools for the Job: You'll need a sharp utility knife, a straightedge, a tape measure, and a staple gun if you're using faced batts.
- Vapor Barrier? This part is super important. In our climate, a vapor barrier (that's usually the paper or foil on one side of the batt) always faces the conditioned space – so, it goes towards the inside of your house. It helps keep moisture from getting into your walls or attic, preventing mold or rot. Don't skip this step.
During the Installation: Take Your Time
Alright, you've got your gear, you've got your batts. Now for the actual work. This isn't a race; it's all about being precise. Shoddy insulation is basically wasted insulation.
- Friction Fit is Key: Batts are made to fit snugly between framing. If you have to squish them too much, you're actually lowering their R-value. If they're too loose, they'll sag and leave gaps. Cut them to fit perfectly, especially around electrical boxes or pipes. Don't leave any empty spaces.
- Don't Compress: This is a big one. Seriously, don't smash batts into a space that's too small. If you've got existing insulation, don't just lay new batts on top and compress the old stuff. You won't be adding R-value; you'll just be making it less effective.
- Mind the Wiring and Pipes: When you run into wiring or plumbing, split the batt and go around it. Make sure the insulation completely fills the cavity. Don't just push the batt behind or in front of it, leaving a big air pocket.
- Facing the Right Way: If you're using faced batts, make sure the facing points towards the heated/cooled side of the house. Staple the flanges to the studs or joists.
- Attic Ventilation: If you're insulating an attic, be absolutely sure you don't block any soffit vents. You need airflow up there, especially with our hot New Braunfels summers. Use baffles or vent chutes to keep the insulation from blocking those critical pathways.
After the Project: What to Look For and When to Call Apex Insulation
Once you're done, do a really thorough inspection. Look for any gaps, squished areas, or spots where the insulation just isn't sitting right. Fix 'em. You'll probably notice a difference in your home's comfort pretty quickly, particularly if you barely had any insulation before. Your AC won't be running constantly, and your heater won't struggle as much when winter finally rolls around.
Now, when should you pick up the phone and call a pro like us at Apex Insulation? Honestly, if you're dealing with any of these situations:
- Hard-to-Reach Areas: Think crawl spaces, super tight attics, or places where you can't stand up comfortably. It's not just about getting the batts in; it's about getting them in right.
- Existing Insulation Issues: If you've got old, moldy, or pest-infested insulation, that stuff needs to be removed safely and correctly before new material goes in. That's definitely a job for the pros.
- Complex Framing or Obstructions: Lots of weird angles, pipes, ducts, or electrical runs can make installing batts correctly a total headache.
- Air Sealing: Insulation is only as good as your air sealing, remember? If your home has a bunch of air leaks, simply adding insulation won't fix everything. We can find and seal those leaks for you.
- You Just Don't Have the Time or Patience: It's a physically demanding job, and it demands attention to detail. If you're short on either, it's better to invest in a professional installation that will pay for itself in energy savings.
Batt insulation can be a fantastic DIY project for the right person and the right situation. But don't ever underestimate how important it is to do it correctly. A poorly insulated home is almost as bad as one with no insulation at all. If you're ever in doubt, just give us a call. We're here to help New Braunfels homeowners get it right.